Resident old man programmer. Get off my lawn!!!
A simple example of Azure B2C integration with Flutter
The intro
I love Azure. I mean, sometimes it is a love/hate thing, but I really LOVE Azure. ![]()
Don’t get me wrong, I like other cloud platforms as well, but I find it, like most things Microsoft tends to do in the developer space, easy for devs to get into. After years of doing my own authentication systems and integration of others, I was thrilled when Azure Active Directory B2C came out. It was especially great for putting that same user identity and security into many mobile apps I have built. As I have spent time adopting Flutter, it seems the documentation out there on how to integrate and use it more fully is spartan at best and scattered and erratic at worst. I currently have someone who asked to be an intern with me and learn the “craft” of coding, and I found getting them up to speed on this was time consuming. I thought I would document what it takes to stand up a B2C directory and integrate it into a Flutter app from an extremely simplistic perspective. In subsequent articles, I will move up the chain in complexity. You might wonder when you read this, “why is he taking me into one document and then jumping out and to another?”. The reason for this is actually simple. Azure B2C is a wide and varied product. It has a TON of different functionalities. I found it difficult to seperate the “wheat from the shaff” when reading through all these. It was always the “extra” information that threw me off, as I could not figure out what one thing had to do with another. I hope you enjoy the journey, and I hope you find this useful.
The premise
So what do we want to accomplish? The business desire here is to:
- create a mobile app in Flutter where our users log in via an Azure B2C directory we create
- access users’ profile information from the mobile application
- allow users to log out of the app
This in a nutshell is the simplest use case for a mobile app. you might ask youself, “well, what about calling back end APIs and such?”. I wanted to start with the simplest thing— in my experience, trying to wind all of that in at one time was confusing and made troubleshooting harder while learning.
What technology will we be using?
We will be using:
- Azure Active Directory B2C - https://azure.microsoft.com/en-us/services/active-directory-b2c/
- Flutter - https://flutter.dev/
- App Auth - https://appauth.io/
Getting B2C up and running
Create B2C Directory
We start by creating the Azure Active Directory B2C instance. Microsoft has a ton of documentation. I would start here to get the base directory in place. I have named mine detroitdaveb2c.
Register the Mobile Application
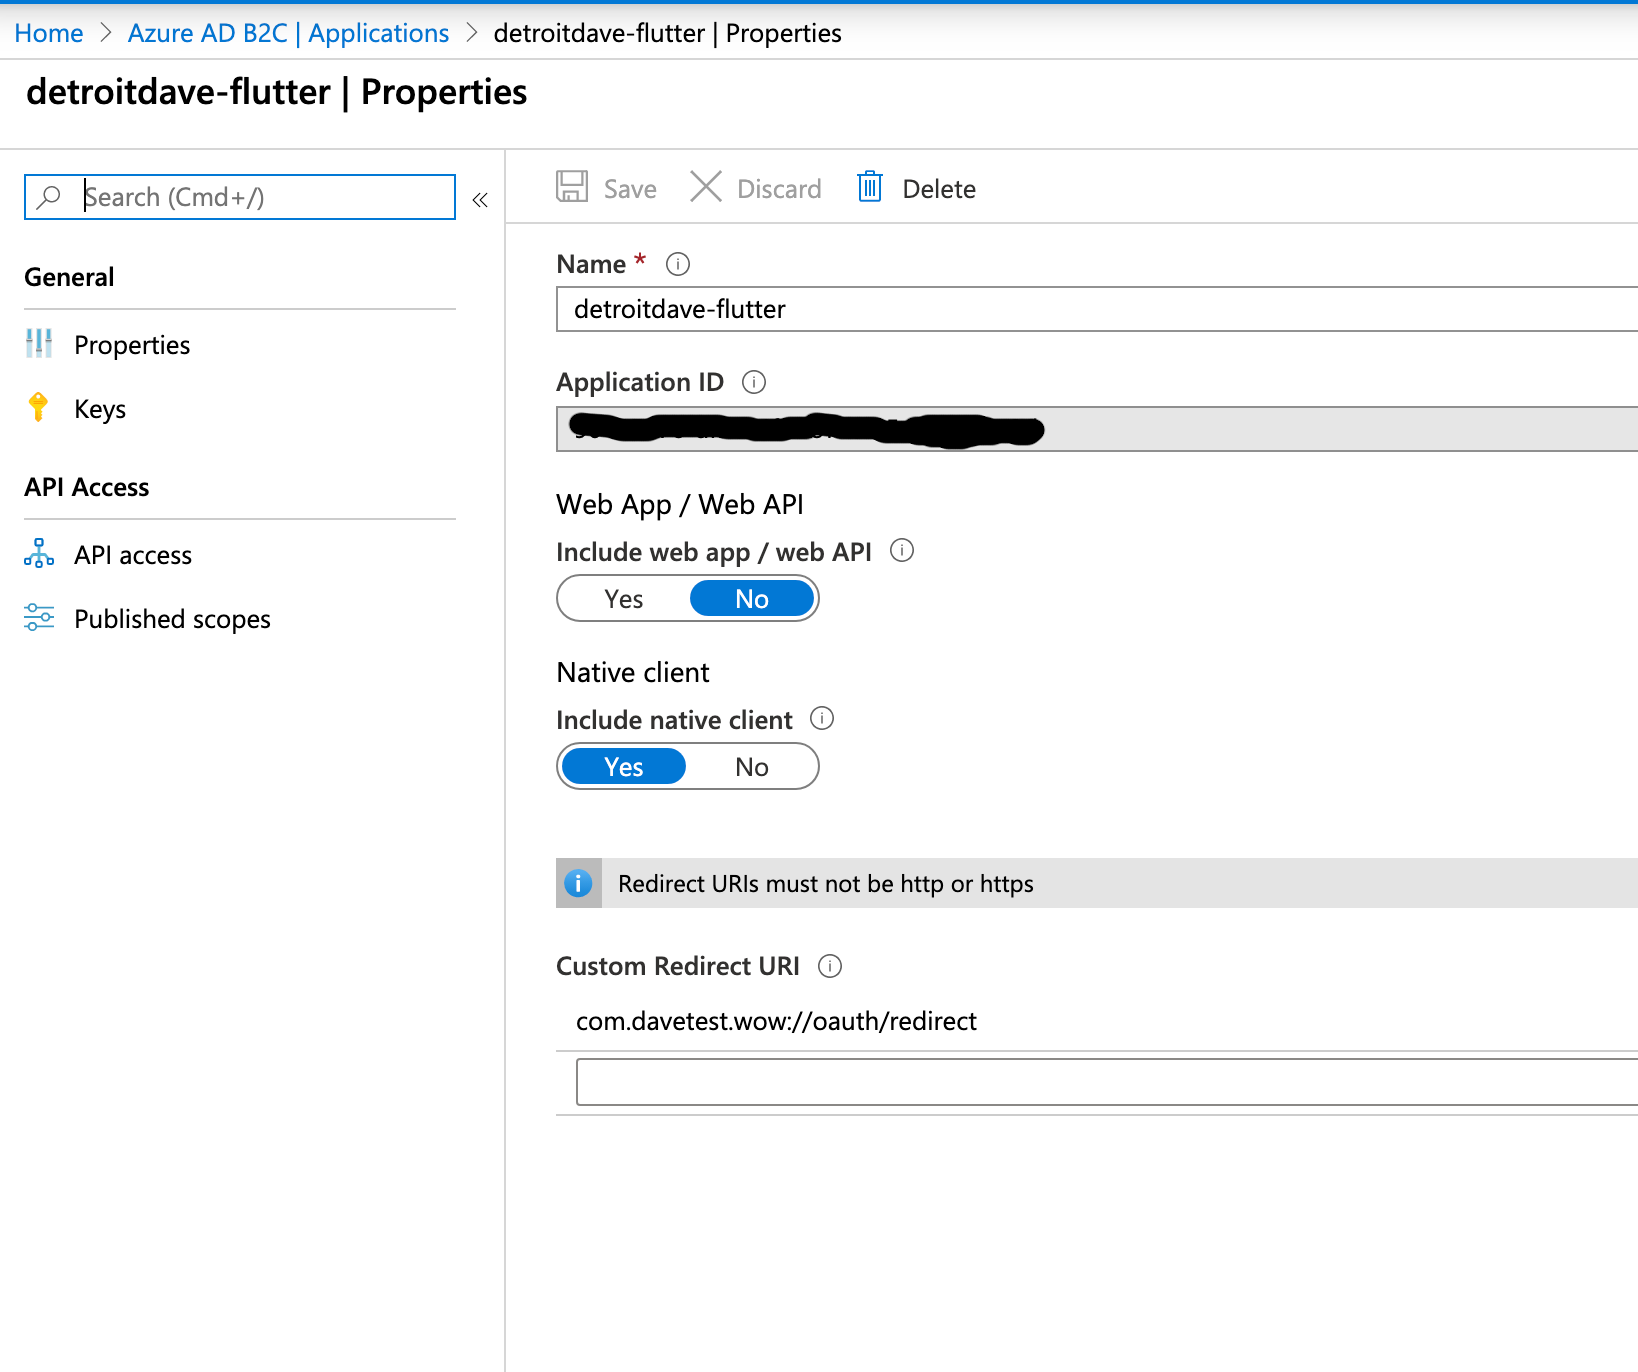
The next thing we have to do is create/register an application and create the user flows within this directory. The process to create a web app and create a native app are very different. This was one of the confusing things to get through as there are a ton of options. This article is a good one to follow to get those steps correct. While creating/registering the application, these tips may be useful:
- Pay attention to the redirect URI in your app. You will find different articles with different ways of laying this out. One of the examples used is com.onmicrosoft.contosob2c.exampleapp://oauth/redirect. The first part before the :// is not that important, and you can make it what you wish (though unqiue for a mobile device namespace). I would recommend you leave the last part as it is. I tried doing things like using: ://oauth or ://redirect as other articles have stated, and they cause various technical problems with libraries used.
- DO NOT download their sample code. I found it confusing to match up the code on the Flutter side. I suppose if you are an expert Objective-C or Android guru and have some experience with AppAuth it might help. As I did not, I experienced nothing but pain trying to make it run and work.
Your application should look something like this:
Create The Sign In - Sign Up User flow
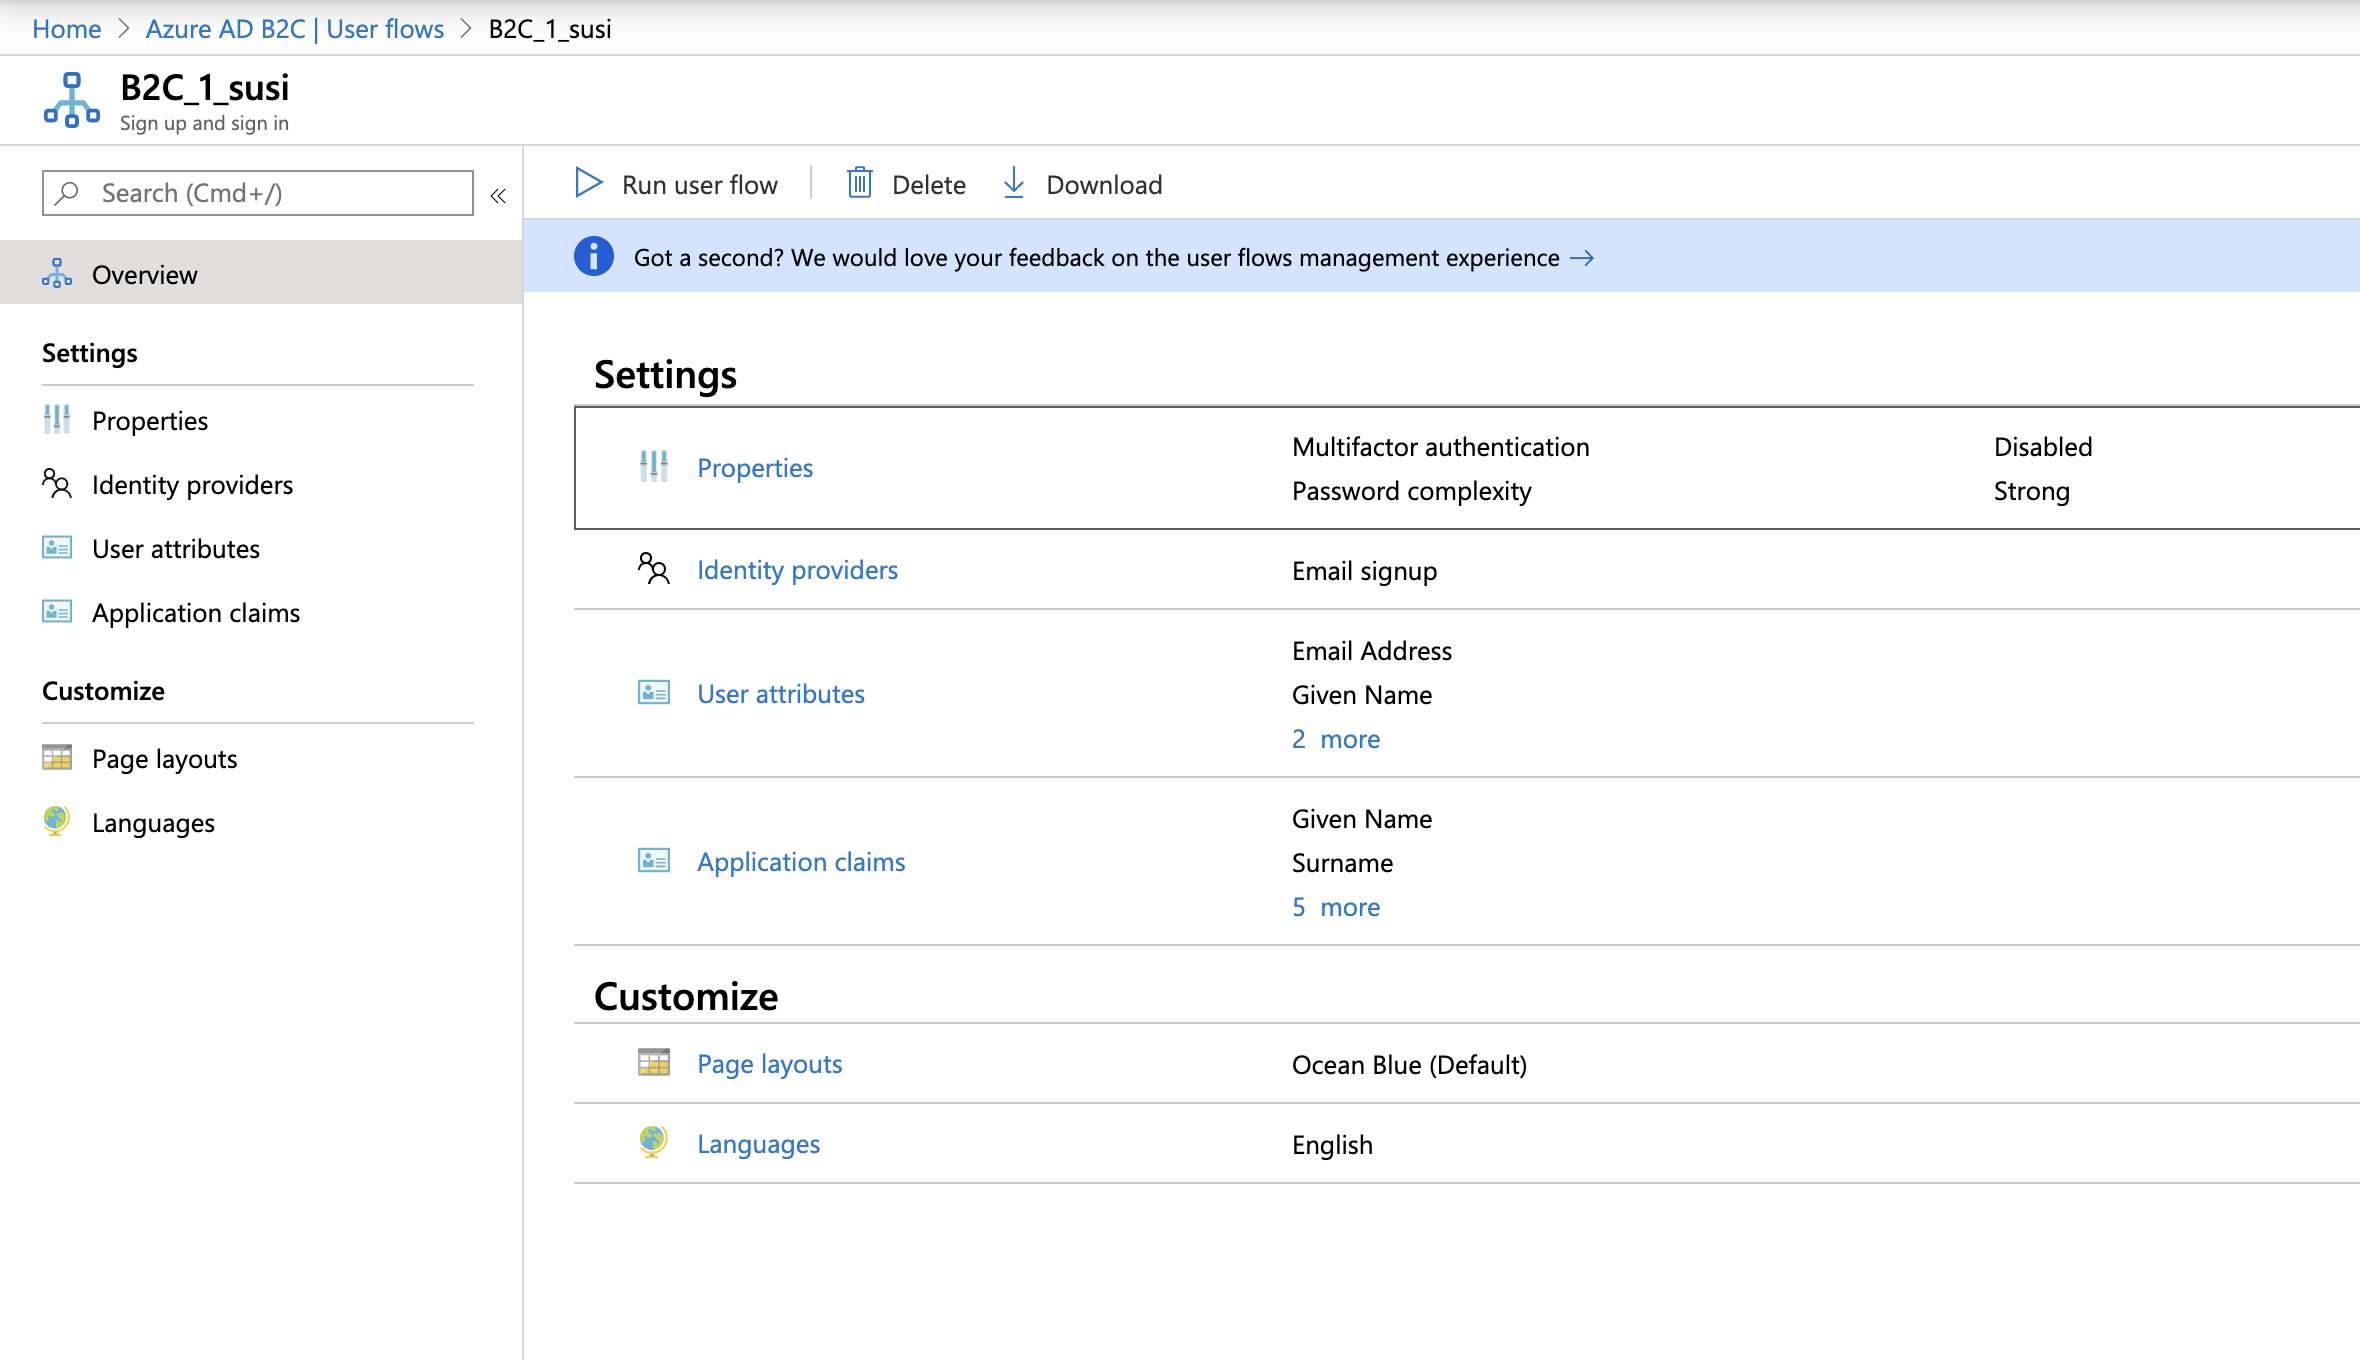
I would follow this article as the way to make this user flow. For purposes of our tutorial let’s name it “susi” and pick the following attributes:
- Collect attribute:
- Display Name
- Given Name
- Surname
- Email Address
- Return claim:
- Display Name
- Given Name
- Surname
- Email Address
- User’s Object ID
- User Is New
Your newly created user flow should look something like this:
Flutter App
Create the app
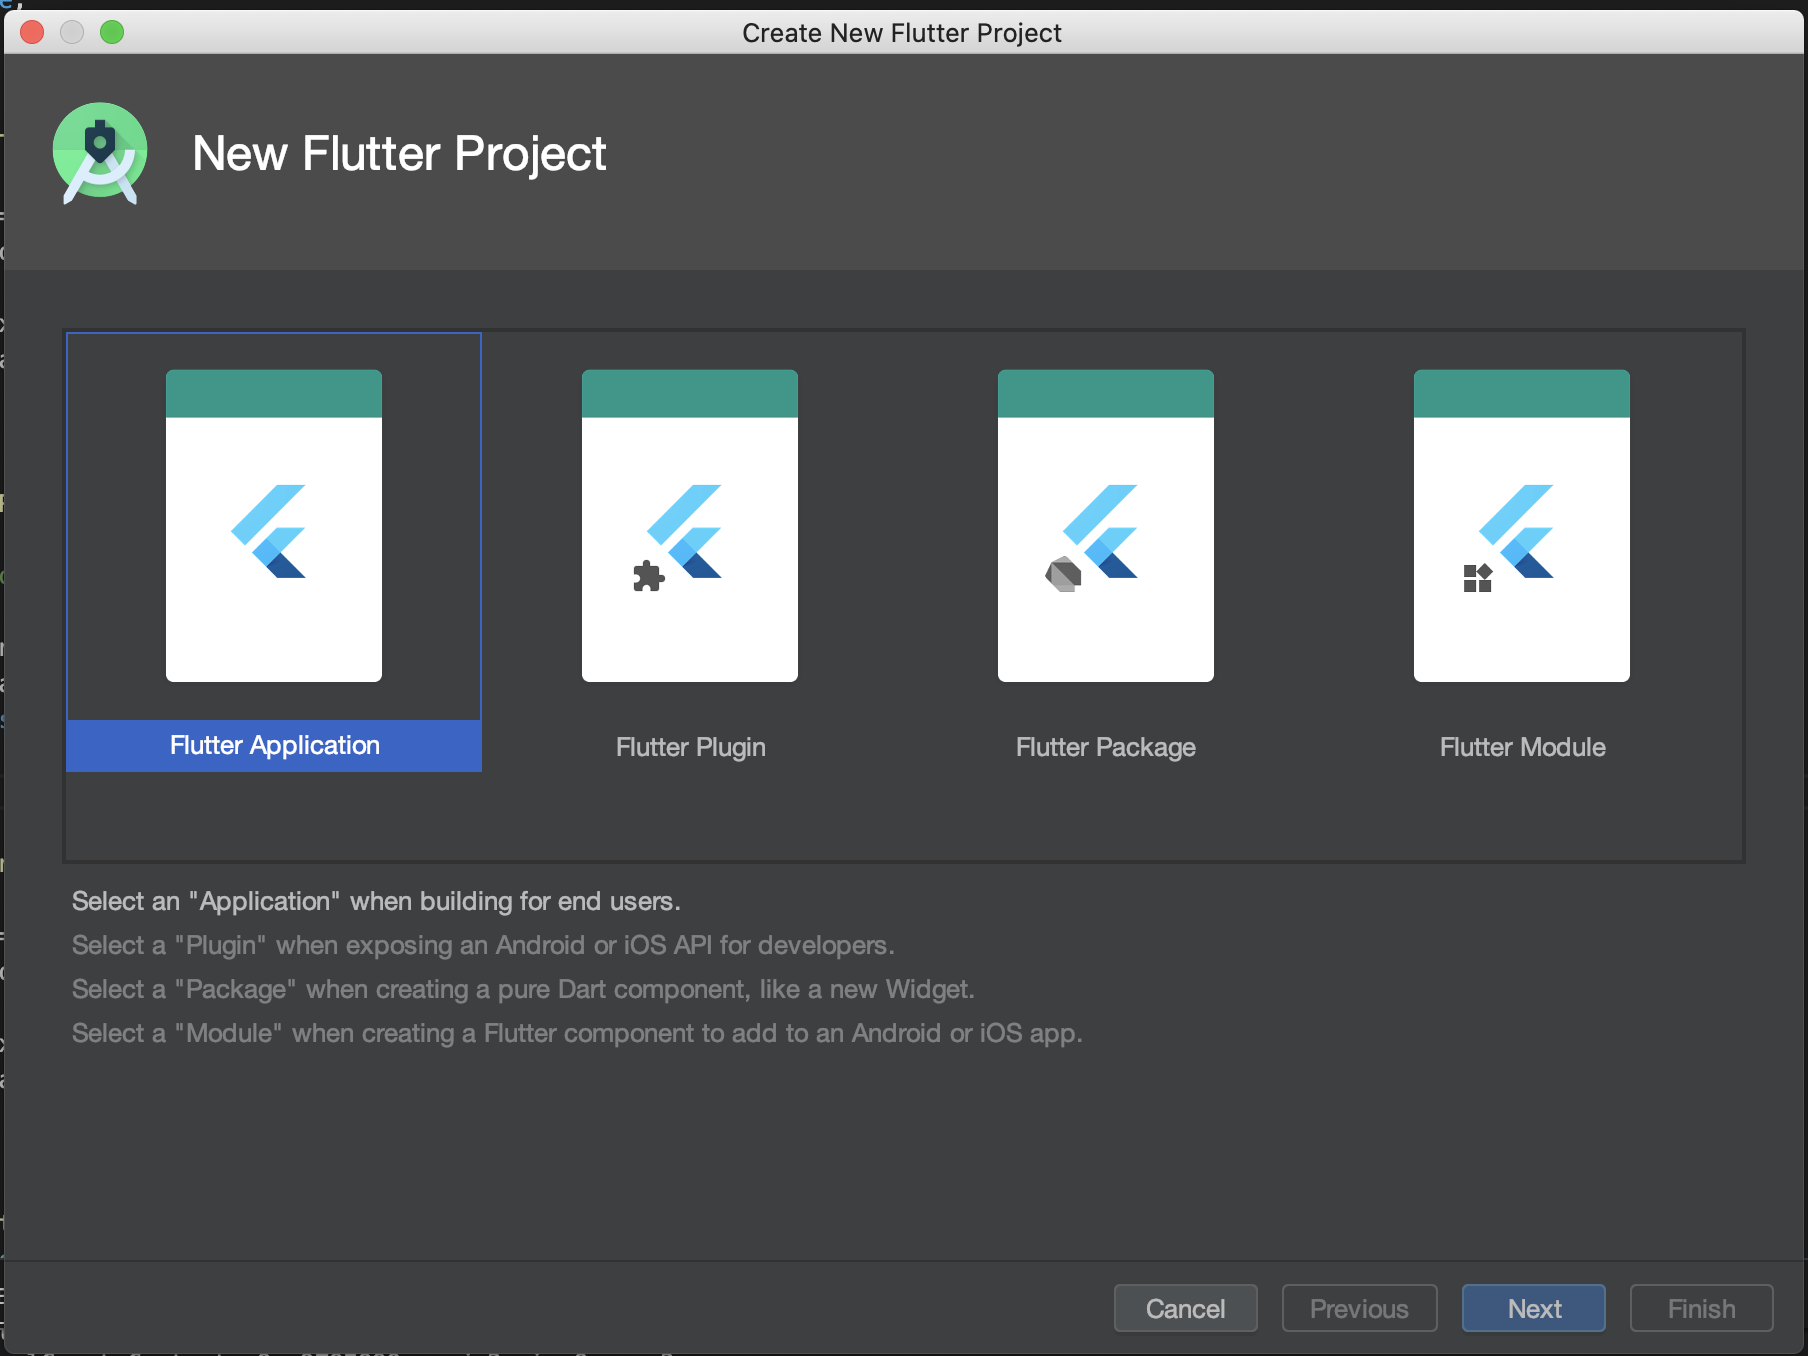
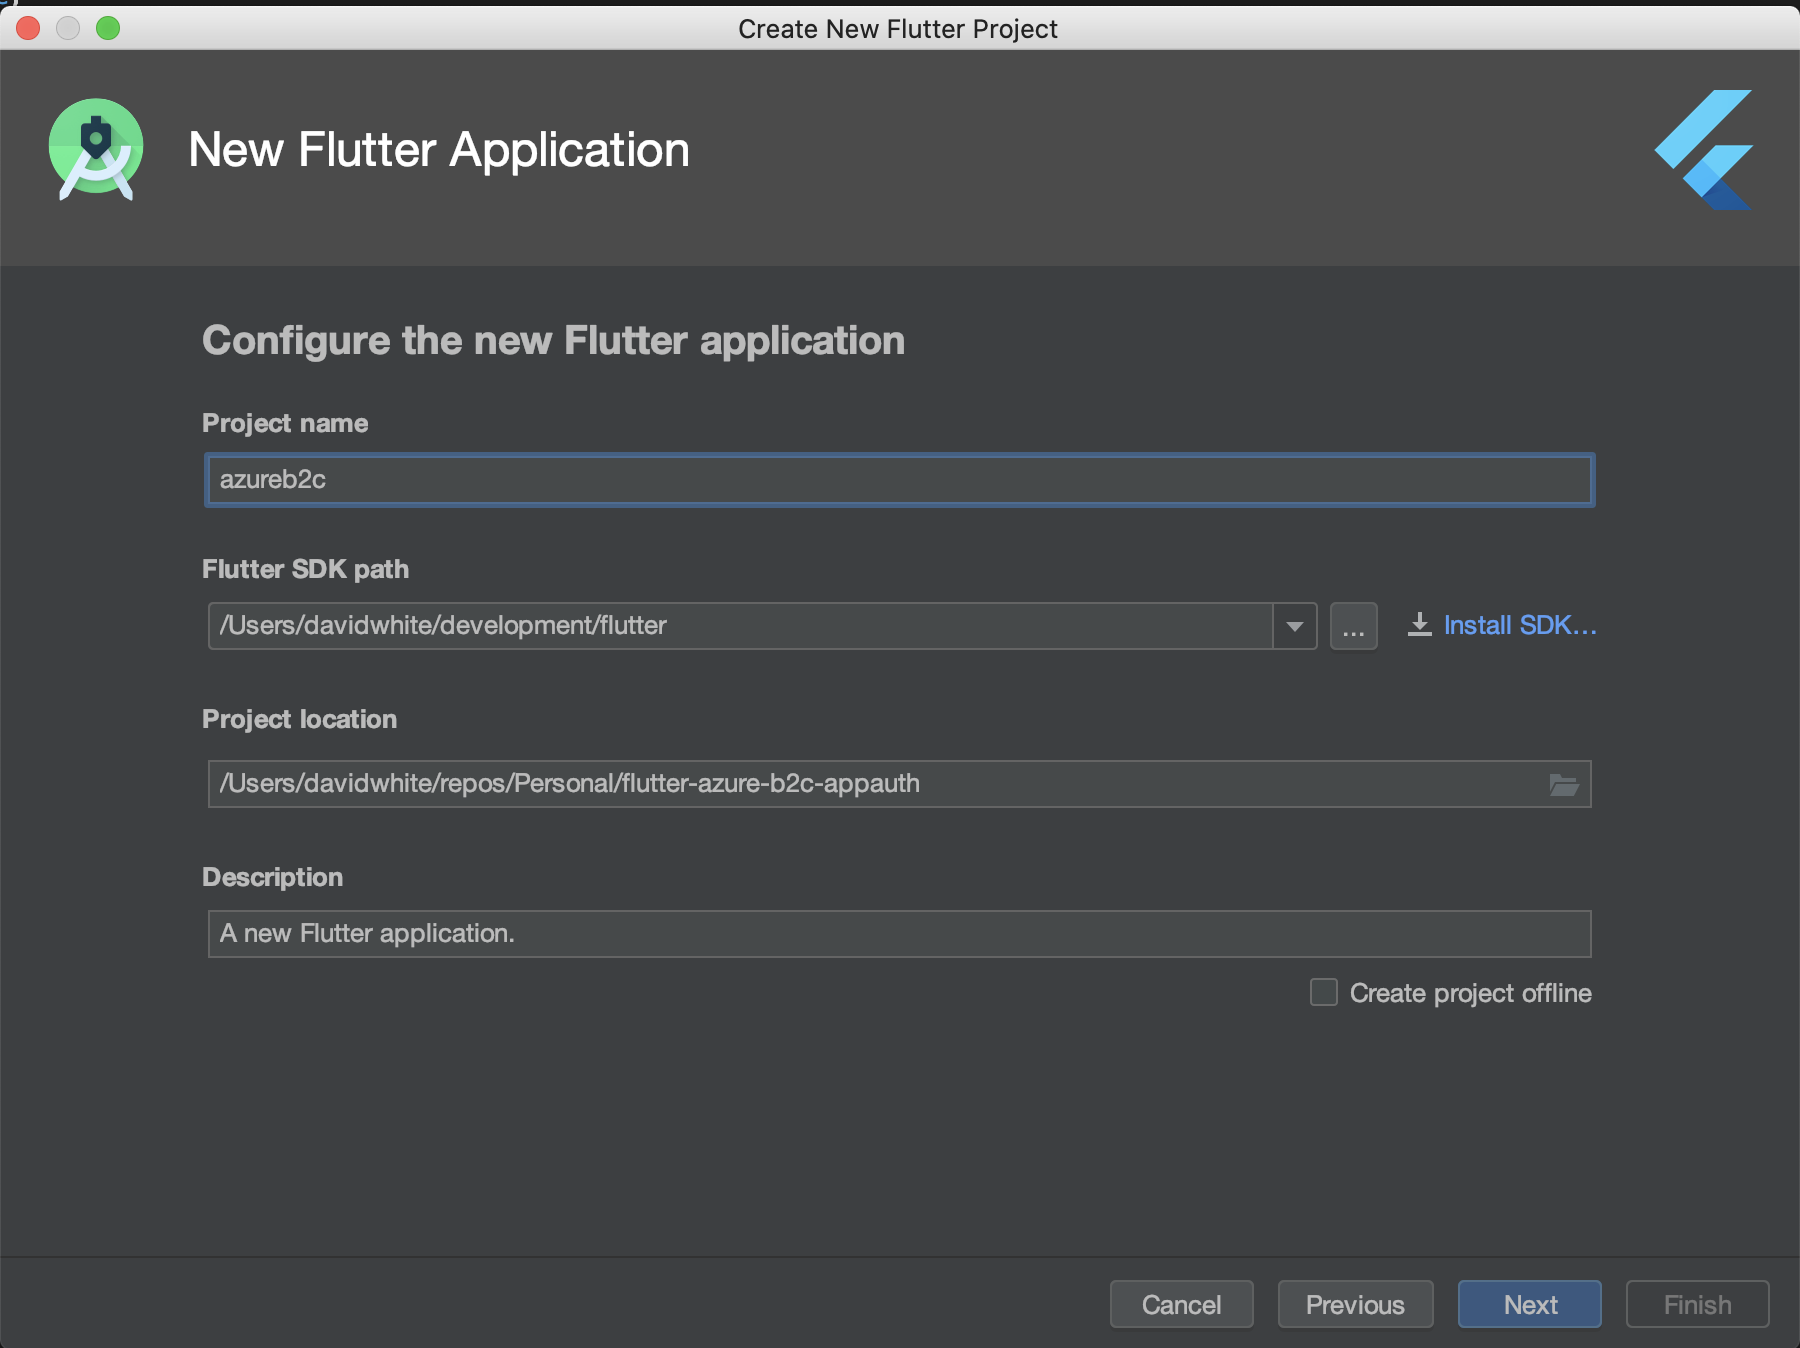
You can use either VS Code or Android Studio to create the Flutter application. Use either one to create the basic application and we will work from there. In VS Code you can use the flutter CLI to create your project. Screenshots of the Android Studio way are below:
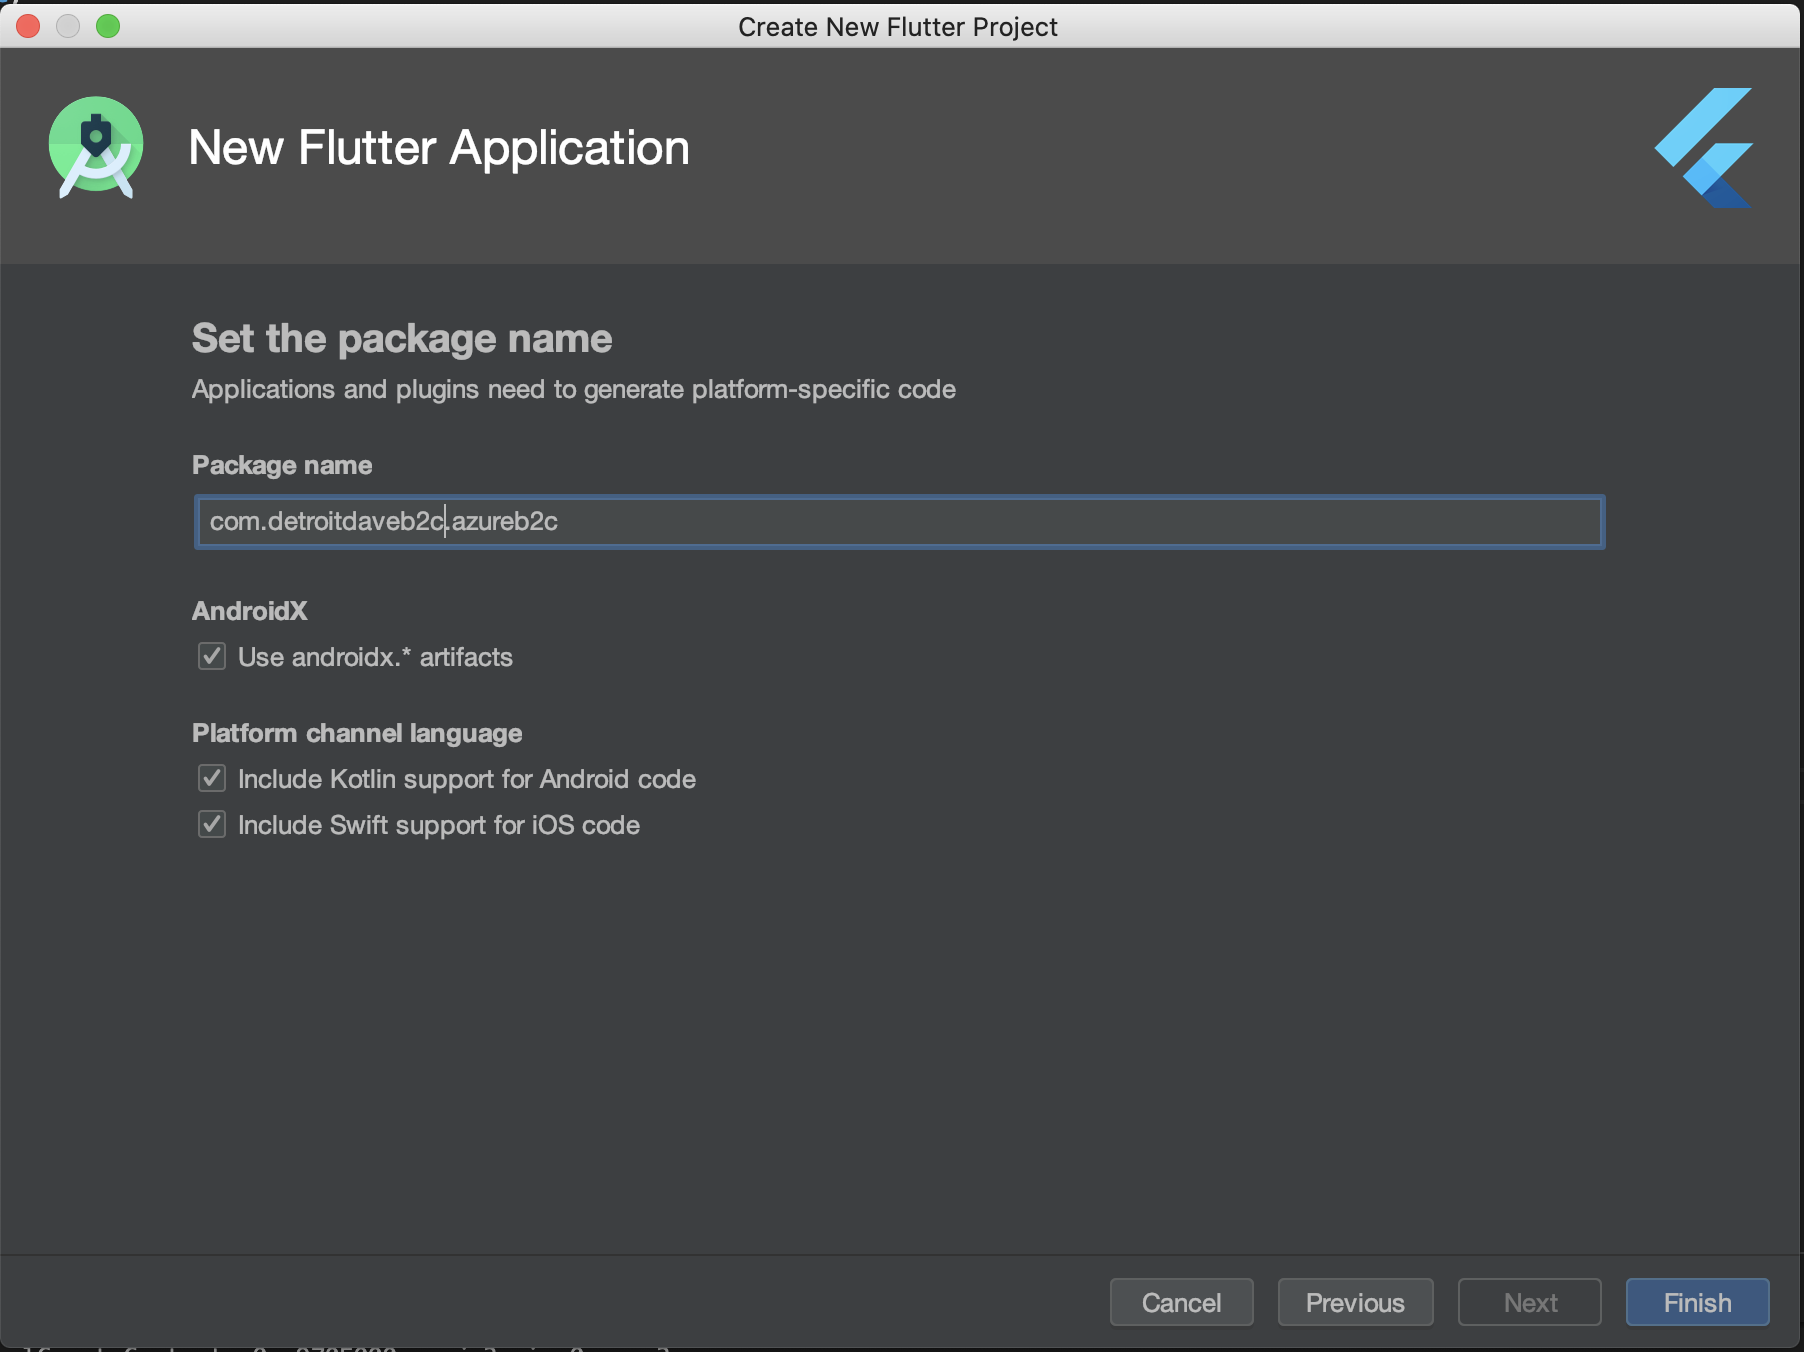
This is the base Flutter app where we press the button that keeps a variable with how many times we have clicked it. We will use this as the starting point for our app.
Integrate App Auth into our App
To begin modifying this simple application to suit our needs, we will learn how to use AppAuth inside our Flutter application. To make this work, we will use the flutter_appauth library. First thing to do is update your pubspec.yaml file with the latest package information. If you go to the library’s GitHub site you can find directions on how to integrate it. I will also be walking through the integration process. AppAuth is a fairly complicated library with lot of knobs and dials. The first step is to add the import of the AppAuth library and add some variables to hold all our information. We can place this at the top of the _MyHomePageState class replacing the increment variable:
  FlutterAppAuth appAuth = FlutterAppAuth();
  String _clientId = '90185a76-af9b-4ff0-9fdc-55c888583e2d';
  String _redirectUrl = 'com.davetest.wow://oauth/redirect';
  String _discoveryURL = 'https://detroitdaveb2c.b2clogin.com/detroitdaveb2c.onmicrosoft.com/v2.0/.well-known/openid-configuration?p=B2C_1_susi';
  String _authorizeUrl = 'https://detroitdaveb2c.b2clogin.com/te/detroitdaveb2c.onmicrosoft.com/b2c_1_susi/oauth2/v2.0/authorize';
  String _tokenUrl = 'https://detroitdaveb2c.b2clogin.com/te/detroitdaveb2c.onmicrosoft.com/b2c_1_susi/oauth2/v2.0/token';
  String _idToken;
  String _codeVerifier;
  String _authorizationCode;
  String _refreshToken;
  String _accessToken;
  String _accessTokenExpiration;
  String _firstName = "";
  String _lastName = "";
  String _displayName = "";
  String _email = "";
  Map<String, dynamic> _jwt;
  List<String> _scopes = ['openid'];
For _clientId I use the application ID for the application created in the Azure B2C portal. For _scopes please note that in Azure B2C, a base directory instance only has the ‘openid’ scope. The discovery and endpoint URLs are worth a longer discussion. In any OAuth server you have the concept of autodiscovery. Where might I find the discovery endpoint for Azure B2C? If you go to the user flow page you can see it.
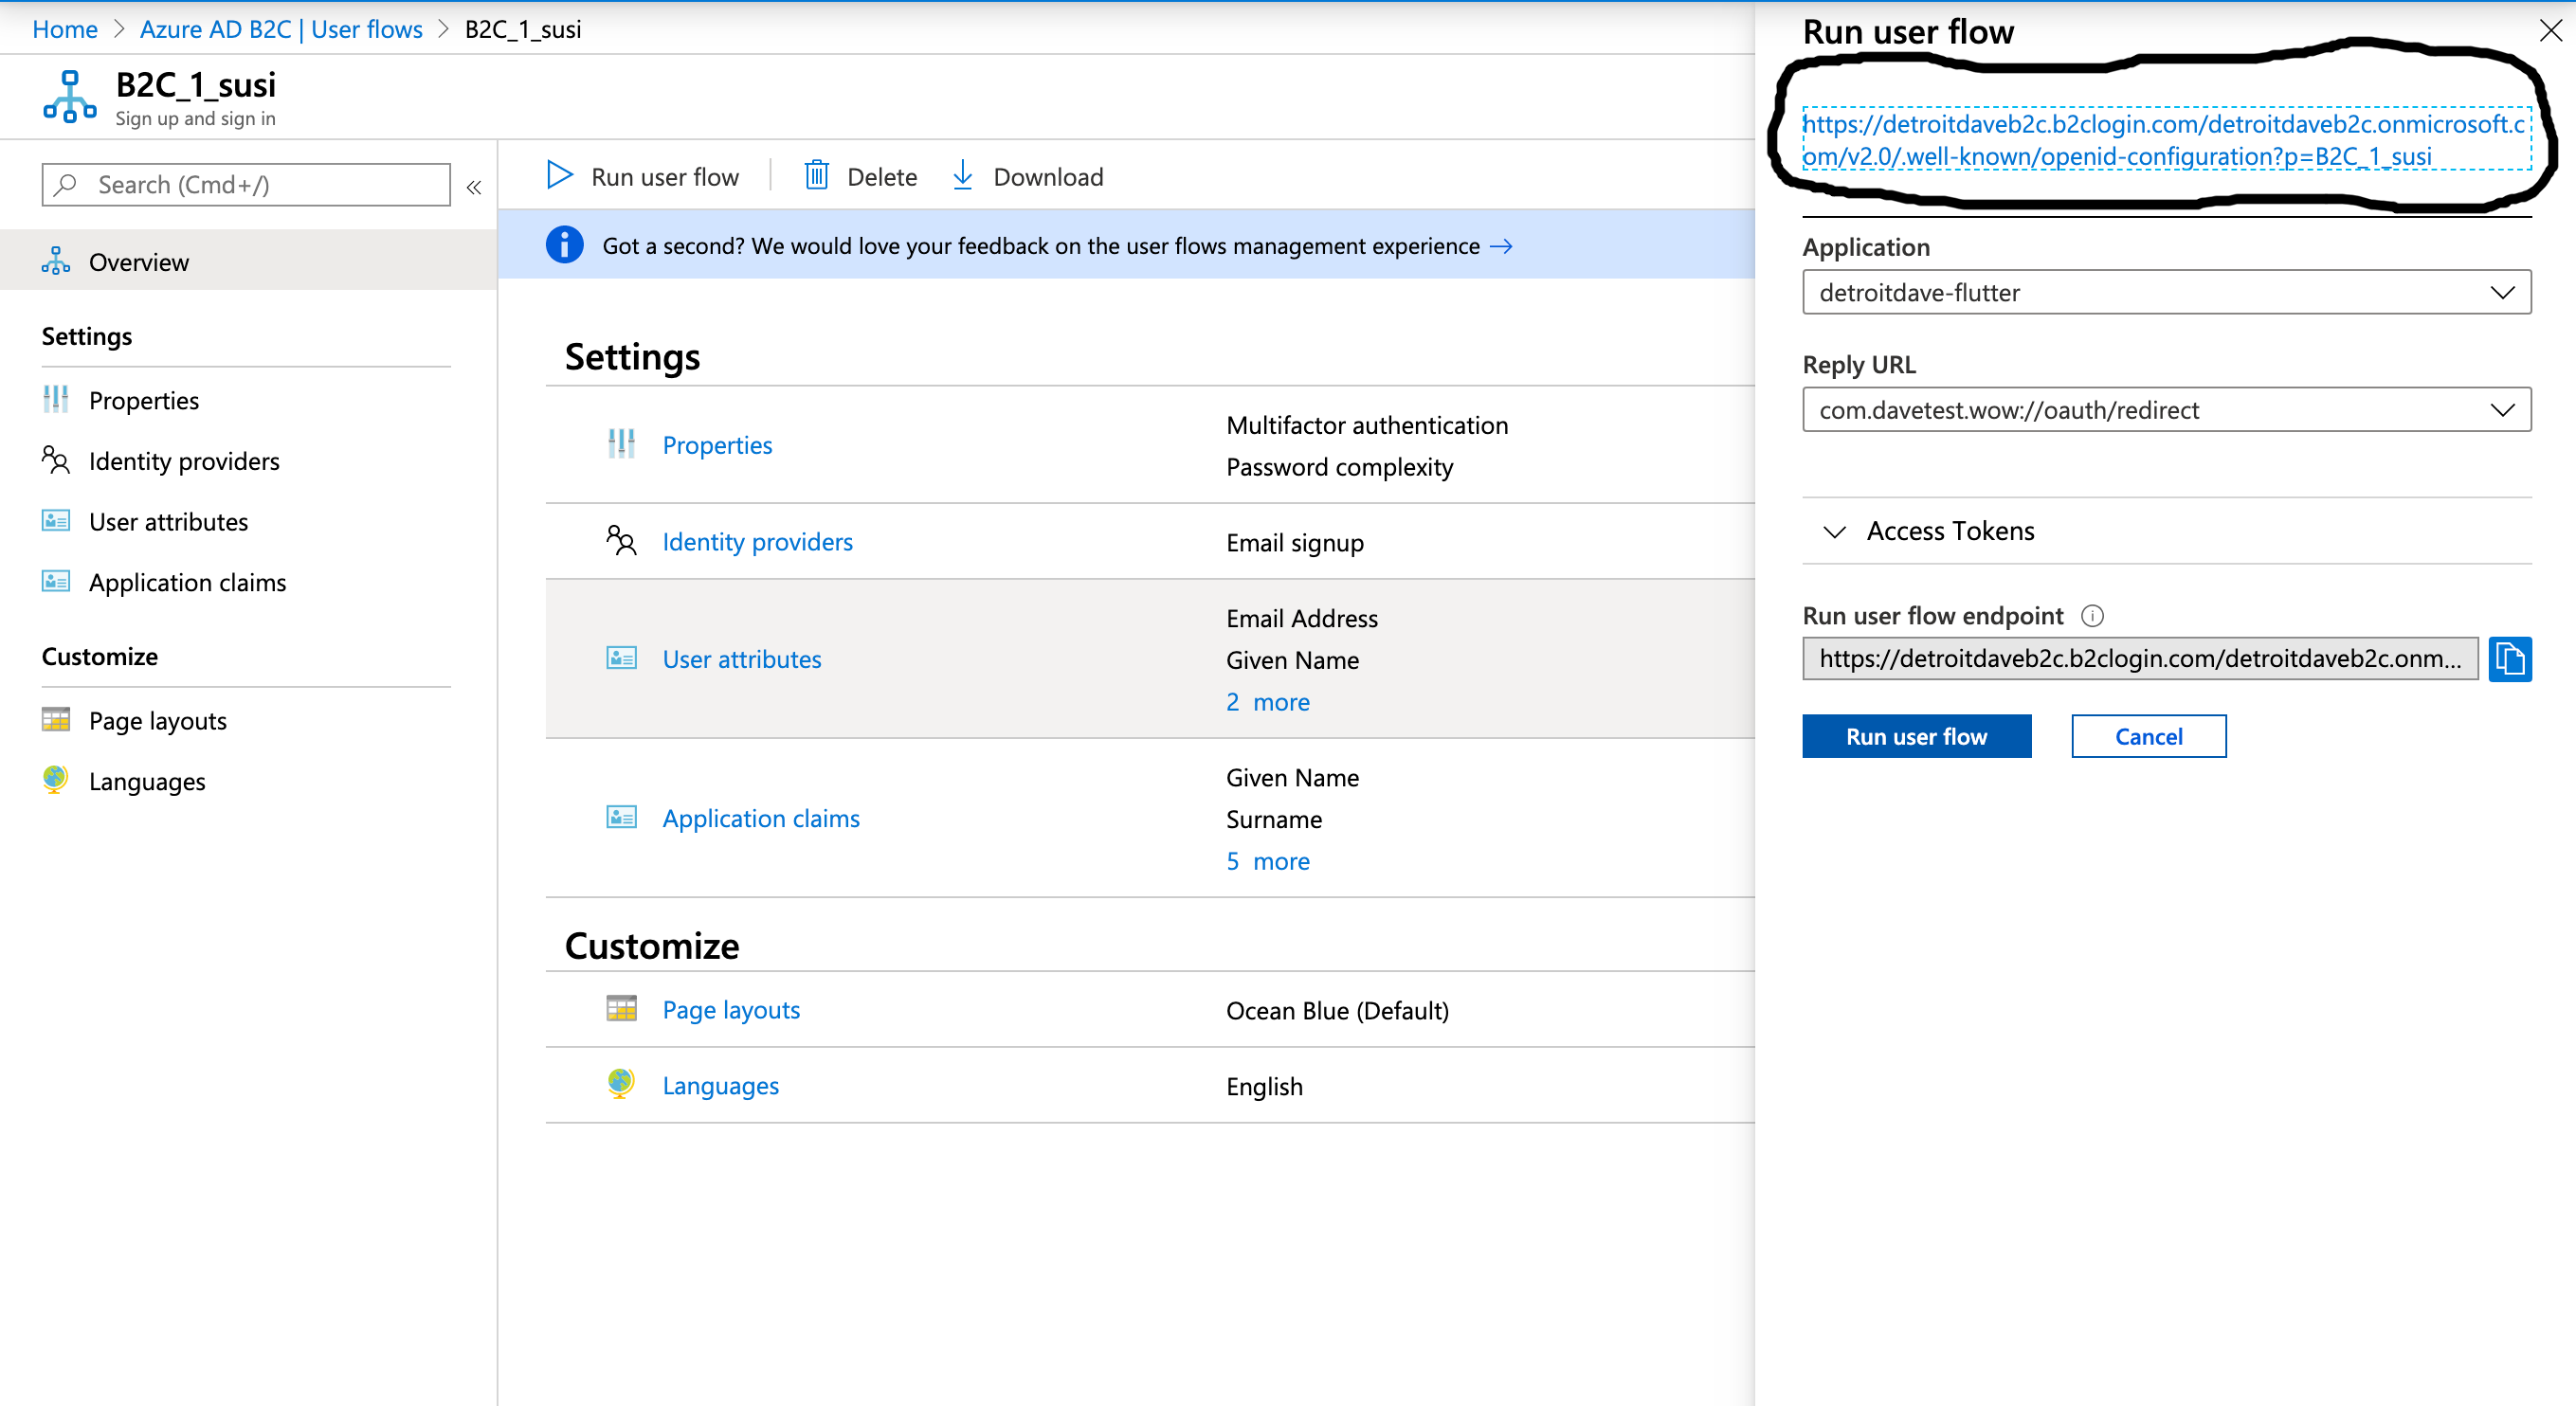
Go take a look at yours. The important bits of mine are below
  "authorization_endpoint": "https://detroitdaveb2c.b2clogin.com/detroitdaveb2c.onmicrosoft.com/oauth2/v2.0/authorize?p=b2c_1_susi",
  "token_endpoint": "https://detroitdaveb2c.b2clogin.com/detroitdaveb2c.onmicrosoft.com/oauth2/v2.0/token?p=b2c_1_susi",
  "end_session_endpoint": "https://detroitdaveb2c.b2clogin.com/detroitdaveb2c.onmicrosoft.com/oauth2/v2.0/logout?p=b2c_1_susi",
The problem is if you try to use any of these endpoints, your program will work in vary degress of success across both platforms. There is a hidden gem in the article we used to create the application in B2C. This hidden gem says:
The token endpoint URI can be generated by replacing the Tenant_ID and the Policy_Name in the following URL:
static NSString *const tokenEndpoint = @"https://<Tenant_name>.b2clogin.com/te/<Tenant_ID>/<Policy_Name>/oauth2/v2.0/token";*
This format of the endpoint is different than what you see from the portal and this format was the only thing I was able to get to work across both iOS and Android reliably.
Next let’s change the _incrementCounter() method to the follow code:
  Future<void> _logIn() async {
    try {
      final AuthorizationTokenResponse result = await appAuth
          .authorizeAndExchangeCode(
        AuthorizationTokenRequest(
          _clientId,
          _redirectUrl,
          serviceConfiguration: AuthorizationServiceConfiguration(_authorizeUrl, _tokenUrl),
          scopes: _scopes,
        ),
      );
      if (result != null) {
        _processAuthTokenResponse(result);
      }
    } catch (e) {
      print(e);
    }
  }
IMPORTANT NOTE: Obviously a lot of the examples use the auto discovery URL and parameters to make things go. The ONLY way I was able to get this to work reliably with Azure B2C was to use the endpoints talked about above.
In our program we can now add a few methods to decode what comes back:
  void _processAuthTokenResponse(AuthorizationTokenResponse response) {
    setState(() {
      _accessToken = response.accessToken;
      _refreshToken = response.refreshToken;
      _accessTokenExpiration = response.accessTokenExpirationDateTime?.toIso8601String();
      _idToken = response.idToken;
      //get individual claims from jwt token
      _jwt = parseJwt(response.idToken);
      _firstName = _jwt['given_name'].toString();
      _lastName = _jwt['family_name'].toString();
      _displayName = _jwt['name'].toString();
      _email = _jwt['emails'][0];
    });
  }

  Map<String, dynamic> parseJwt(String token) {
    final parts = token.split('.');
    if (parts.length != 3) {
      throw Exception('invalid token');
    }
    final payload = _decodeBase64(parts[1]);
    final payloadMap = json.decode(payload);
    if (payloadMap is! Map<String, dynamic>) {
      throw Exception('invalid payload');
    }
    return payloadMap;
  }

  String _decodeBase64(String str) {
    String output = str.replaceAll('-', '+').replaceAll('_', '/');
    switch (output.length % 4) {
      case 0:
        break;
      case 2:
        output += '==';
        break;
      case 3:
        output += '=';
        break;
      default:
        throw Exception('Illegal base64url string!"');
    }
    return utf8.decode(base64Url.decode(output));
  }
Let’s add the code to log out of B2C. Add a method to log out.
  Future<void> _logOut() async {
    try {
      //for some reason the API works differently on iOS and Android
      Map<String,String> additionalParameters;
      if (Platform.isAndroid) {
        //works on Android but is missing p parameter when redirected back to authorize on iOS
        additionalParameters = {
          "id_token_hint": _idToken,
          "post_logout_redirect_uri": _redirectUrl
        };
      } else if (Platform.isIOS) {
        //missing p parameter when redirected back to authorize on iOS so the below difference
        additionalParameters = {
          "id_token_hint": _idToken,
          "post_logout_redirect_uri": _redirectUrl,
          'p':'B2C_1_susi'
        };
      }
      await appAuth.authorizeAndExchangeCode(
        AuthorizationTokenRequest(
          _clientId,
          _redirectUrl,
          promptValues: ['login'],
          discoveryUrl: _discoveryURL,
          additionalParameters: additionalParameters,
          scopes: _scopes,
        ),
      );
    } catch (e) {
      print(e);
    }
    setState(() {
      _jwt = null;
    });
  }
A couple of words here. OAuth2 makes use of the browser for security reasons. It is a long story and a fun read if you are bored. The logout through the AppAuth library is not seemless. It logs you out, but the way to make the single API work is to redirect back to the home page so the web “page” can return something to the UI. This makes the user press the logout button, be redirected to the login page, then press the “X” or “Cancel” to get out of it and back to the app. In my humble opinion, this is a bad user experience for everyone. I have read a lot of “issue” threads on GitHub for AppAuth on the things people have done to get around it, namely forking the code and adding their own stuff. I deemed that out of scope here and wanted to keep things simple even if the log out is a little “messy”.
Once again, the only thing that really works in this case is the discoveryURL parameter. This is becasue if you look at the underlying Flutter code in the flutter_appauth library, the AuthorizeTokenRequest method takes an AuthorizationServiceConfiguration that is both an auth endpoint and token endpoint. You can pass it a logout endpoint, but it doesnt work well across both platforms. Lastly, we have to do a little ‘dirty hack’ coding here. The problem is on Android I don’t have to pass the “p” parameter in to get it to work, but then it would not work on iOS. More frustratingly, if I did the opposite it would work on iOS but not Android. To fix this, I did a little “platform checking” (which in my honest opinion should be avoided when writing Flutter) and change the parameters being passed. The good news is this works like a charm.
Moving forward, let’s add a bit of code to display what was was returned as well as our state. In the build() method within the _MyH, let’s replace the children property where the increment counter is with the following code:
    children: (_jwt == null) ?  <Widget>[ Text('Please press + sign to log in',)] :
    <Widget>[
    Text(
        'Display Name: $_displayName',
    ),
    Text(' '),
    Text(
        'Name: $_firstName $_lastName',
    ),
    Text(' '),
    Text(
        'Email: $_email',
    ),
    Text(' '),
    RaisedButton(
        onPressed: _logOut,
        elevation: 5,
        child: Text('Logout'),
    )
    ],
And lastly in our list, to make our app run on Android we need to update update our Android’s build.gradle file and update our info.plist on the iOS side. Your shceme in both of these cases is everything you put before the :// in the redirect URI.
This ends up looking like:
I hope you have enjoyed this post. I will expand on this with other libraries and other B2C complexities in future posts. The code for this article can be found here. Comment below if you have questions or concerns. Thanks for reading.
Thank You For Reading

David White